With the most recent widget update, you can:
- Add a goal bar to your form widget
- Embed a standalone goal bar or thermometer on your website.
To customize your goal bar widget, select the campaign you want to manage and then go to
Sharing
> Widgets
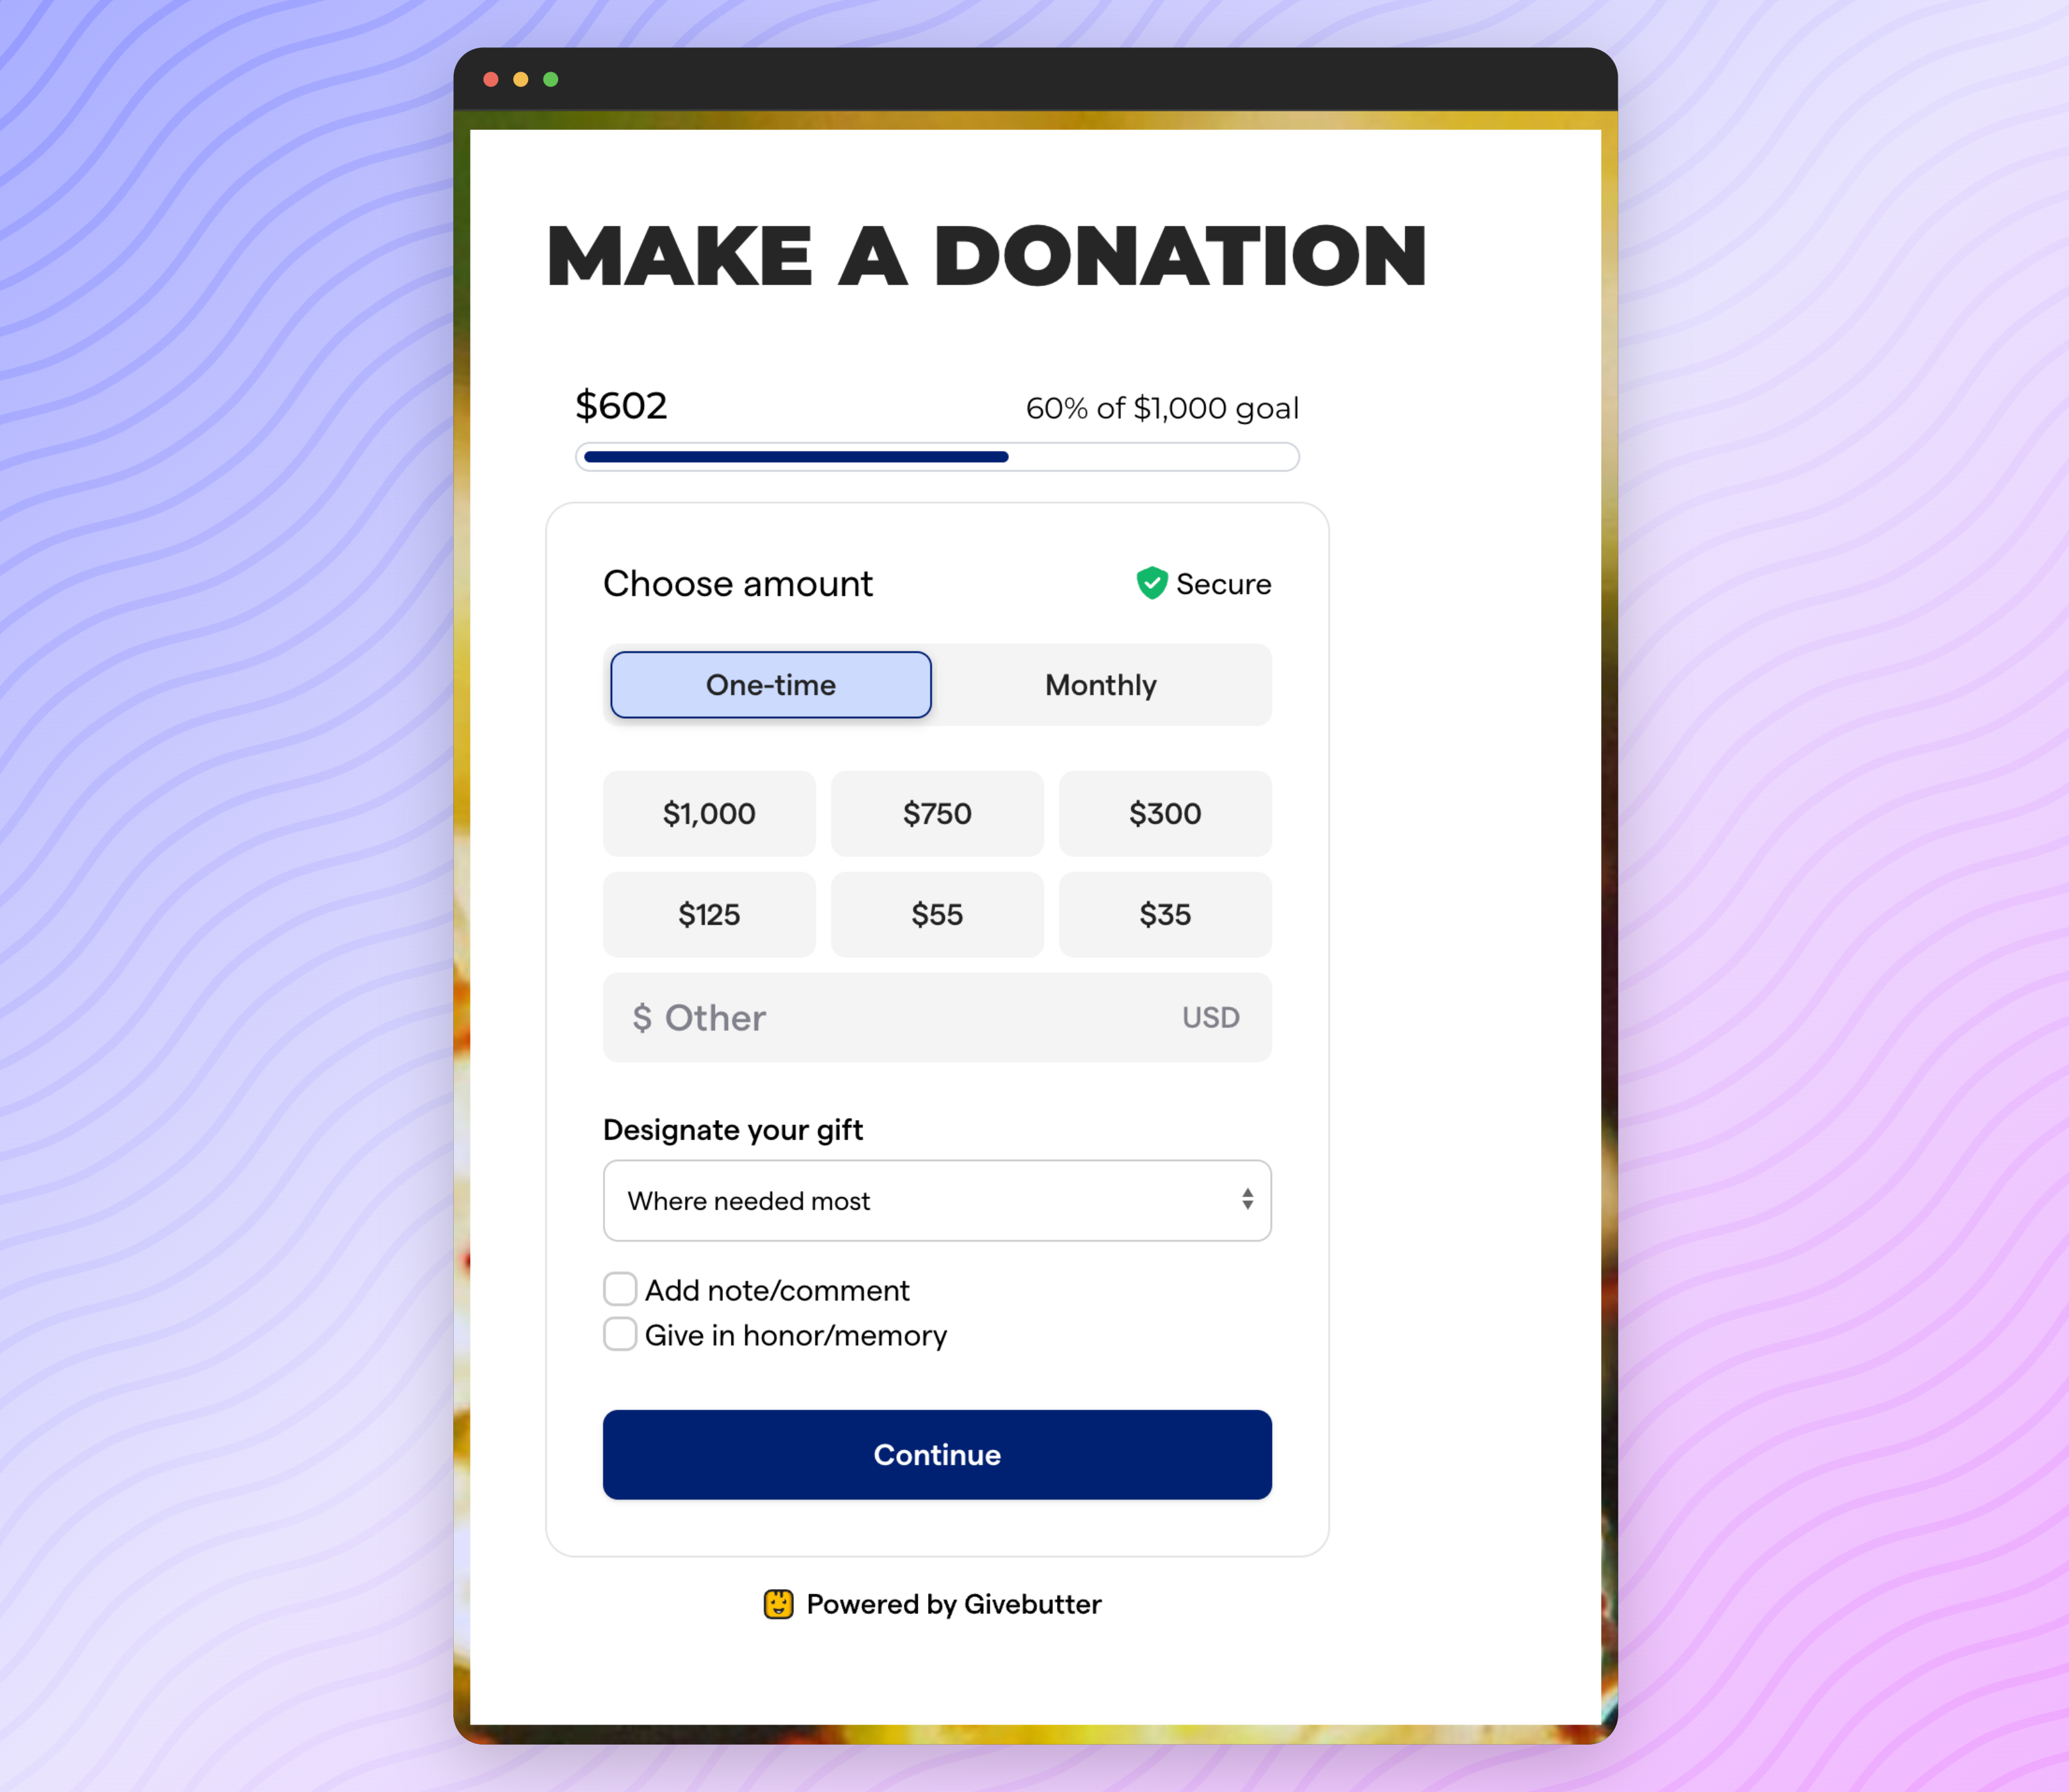
. Adding a goal bar to your form widget
You add a goal bar to a Form widget by navigating to the configuration screen for the widget you're updating and enabling the
Goal bar
setting and clicking Publish
.
Once enabled, you'll see the goal bar appear on your form widget.
Setting up a standalone goal bar widget
To set up a standalone goal bar widget, navigate to
Sharing
> Widgets
on the campaign dashboard. To configure, click the configuration icon. If it's disabled, you'll need to set a goal on the
Details
tab of your campaign. You can customize the widget to fit the look and feel of your organization's website. Additionally, you can choose between a
progress ba
r or thermometer
as the goal bar type. 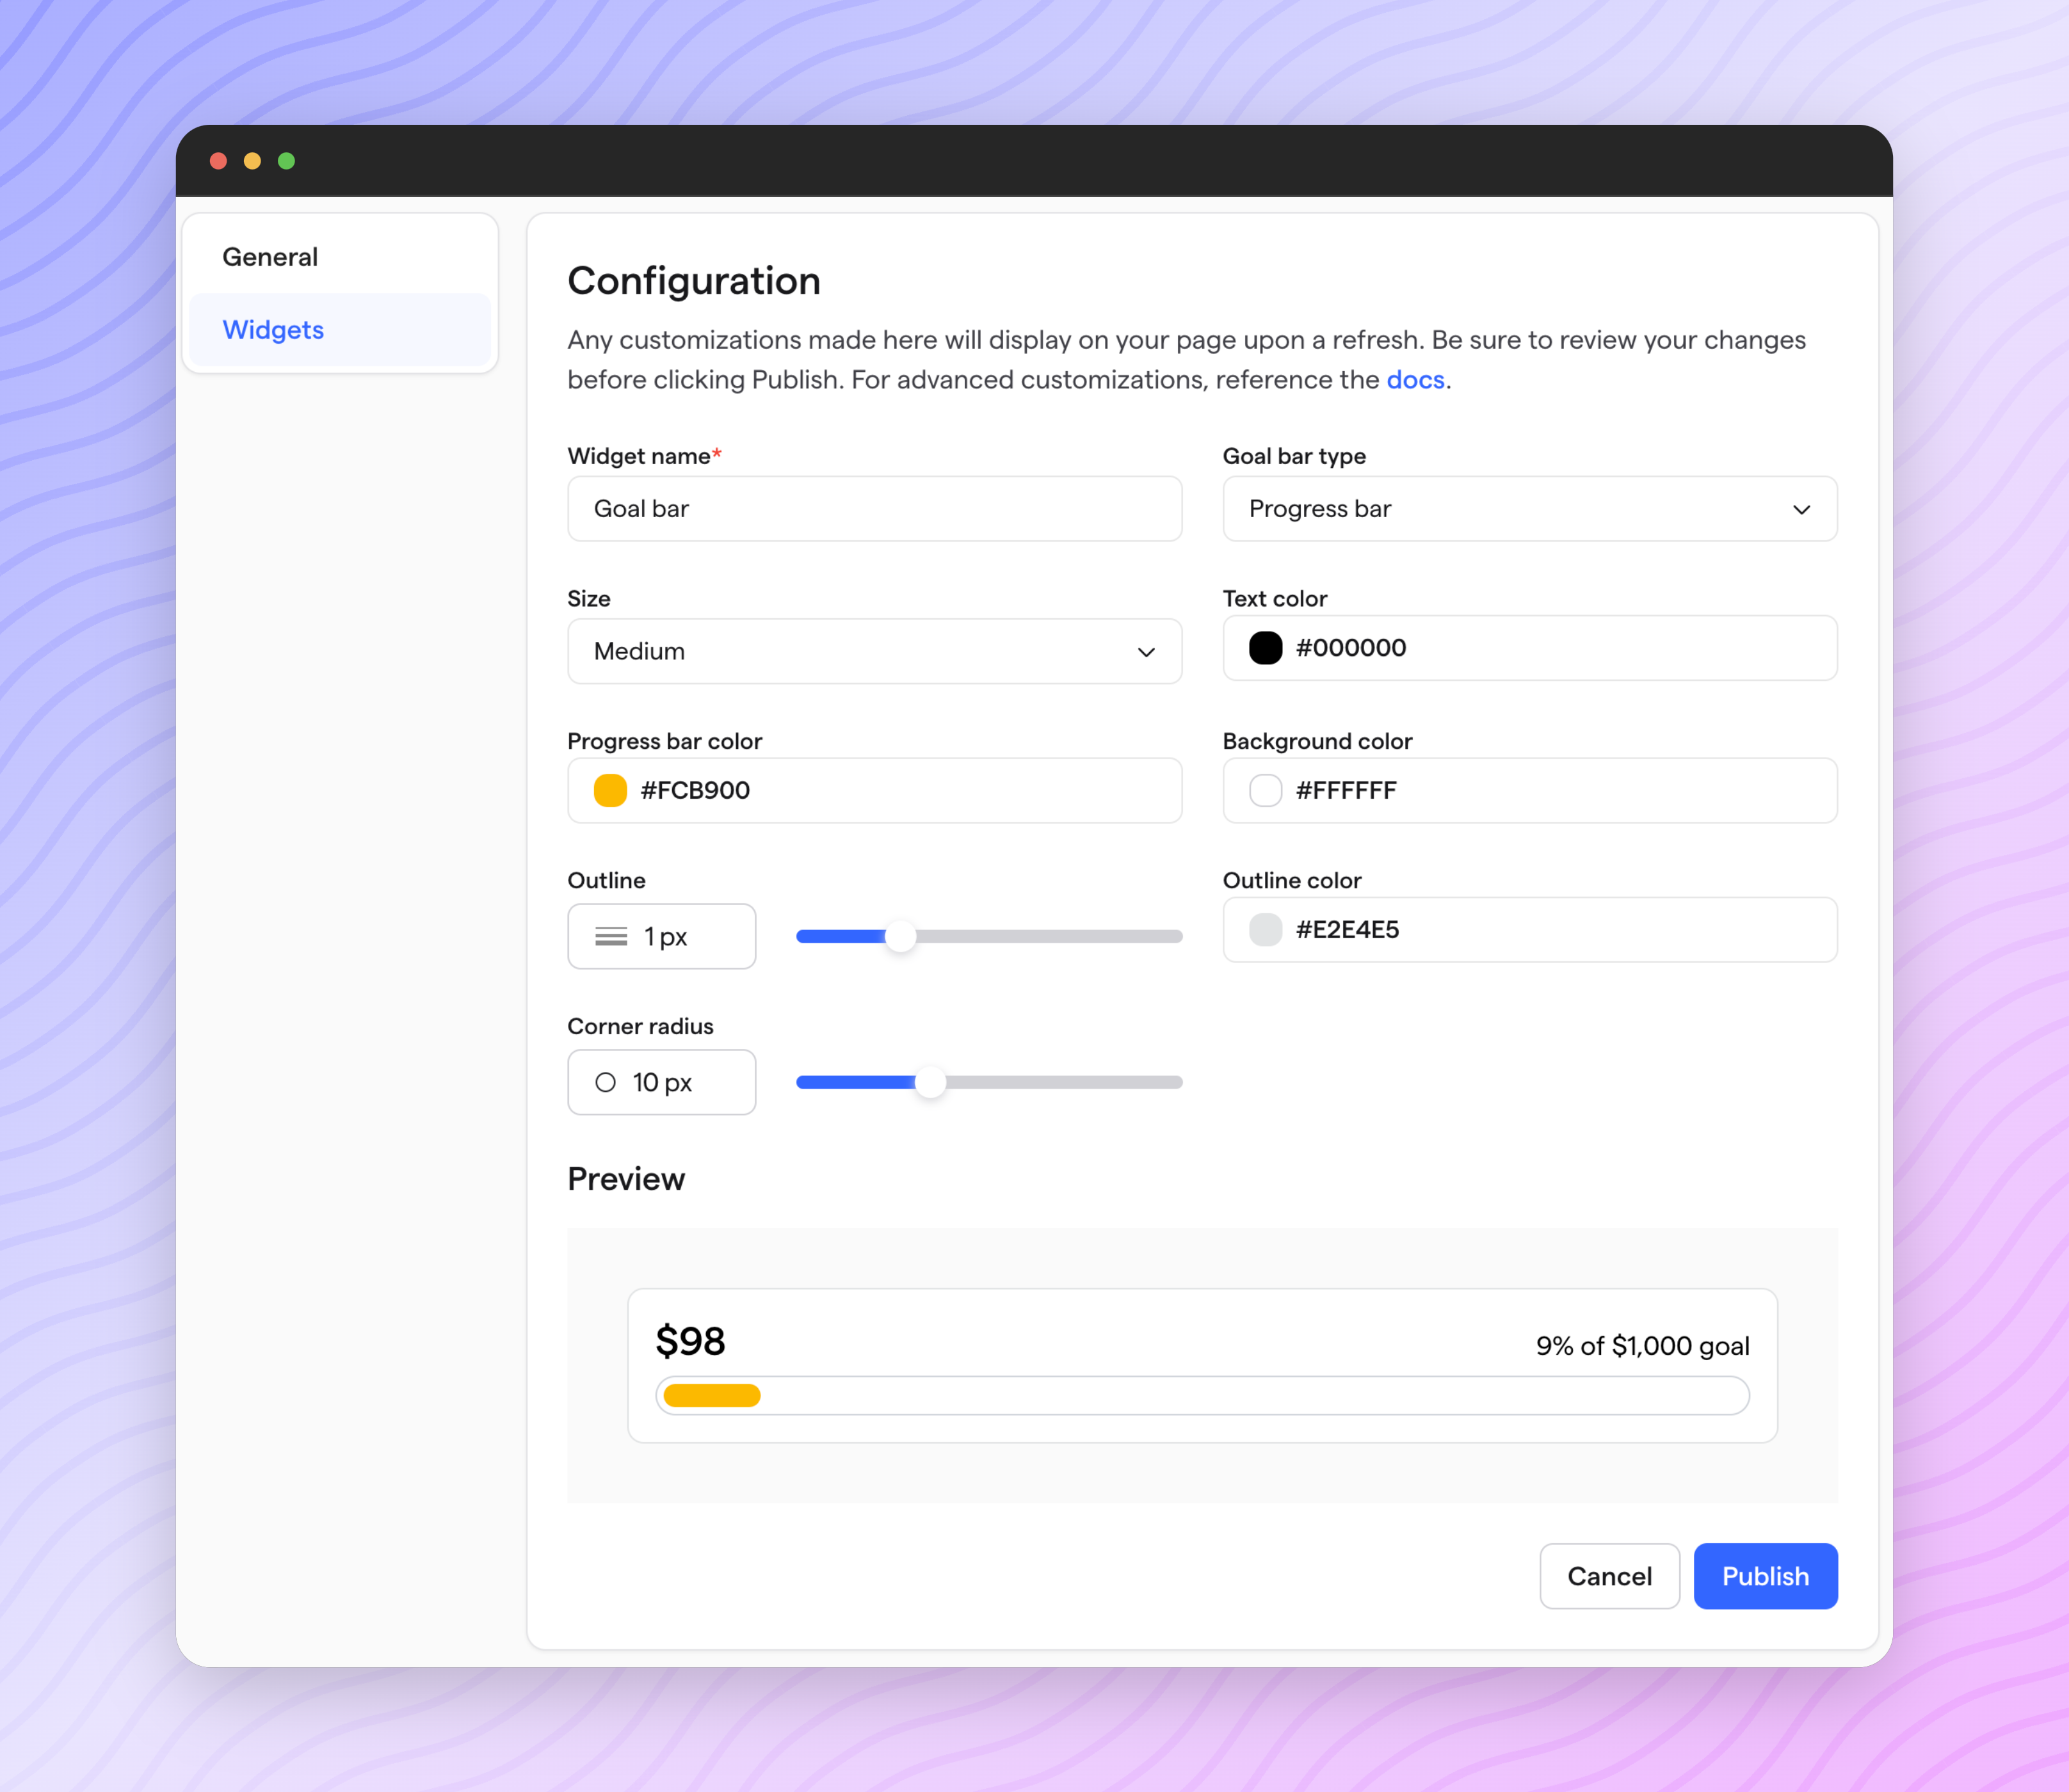
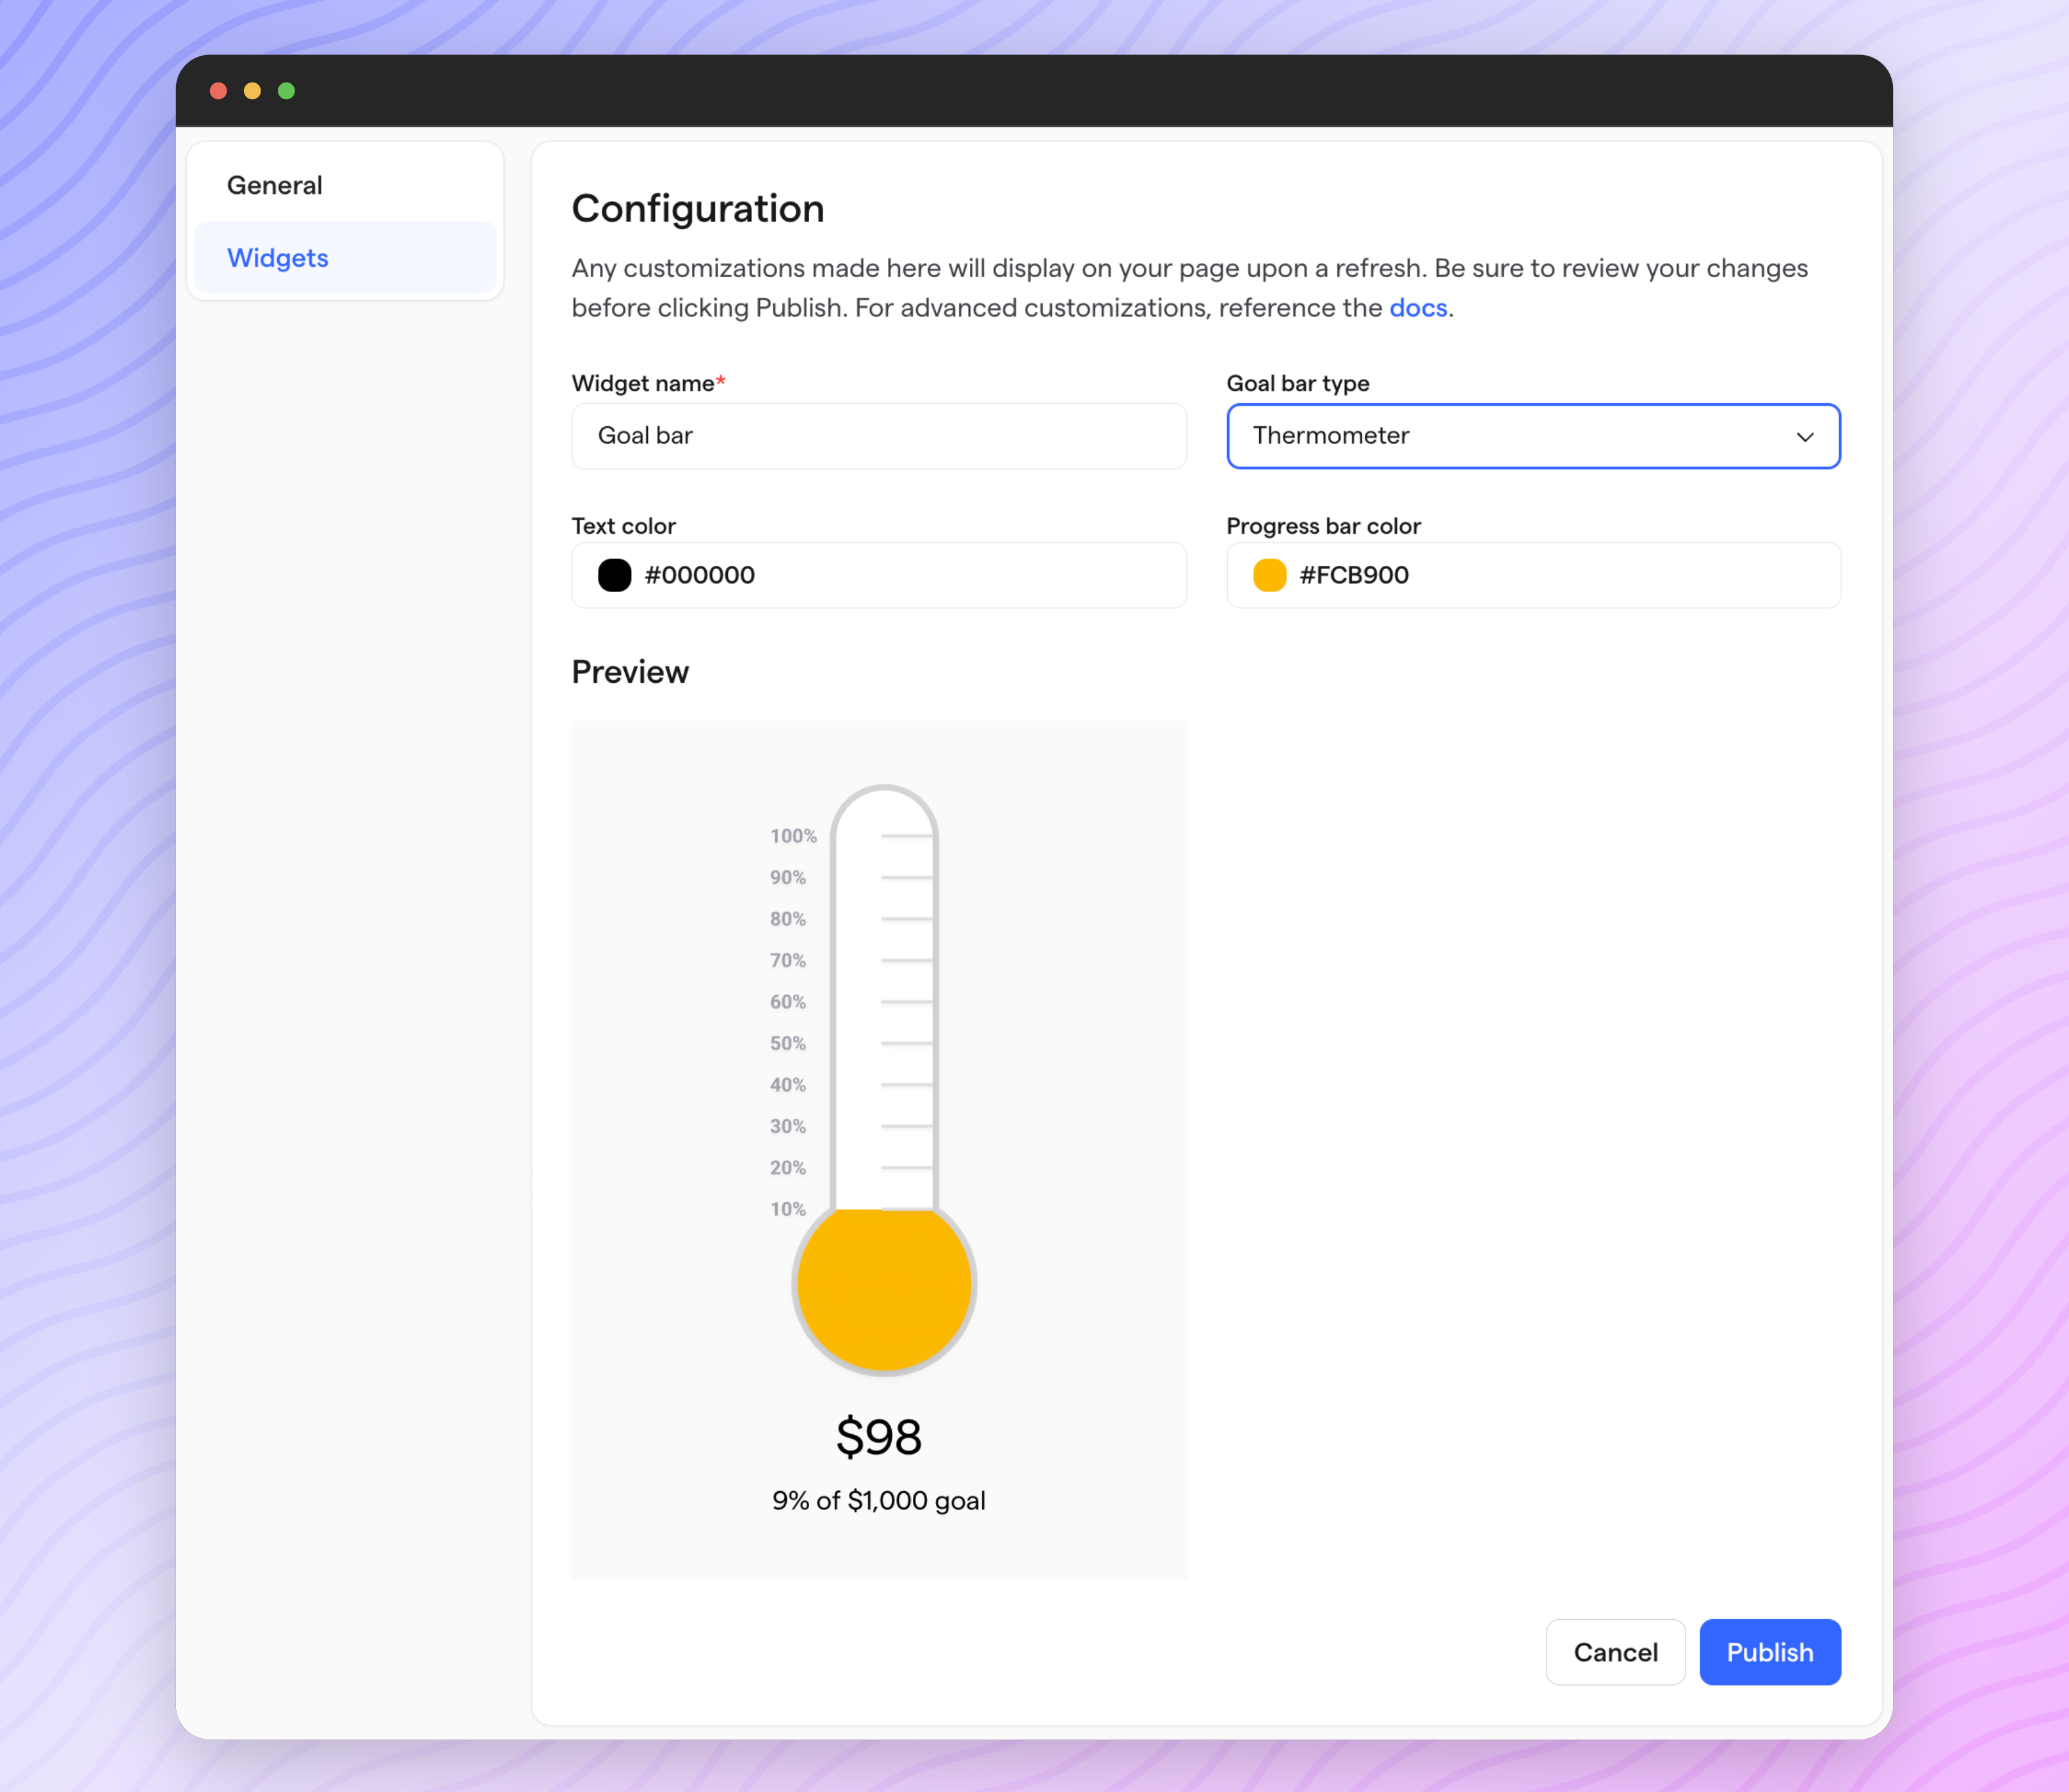
Once you've configured your widget, hit
Publish
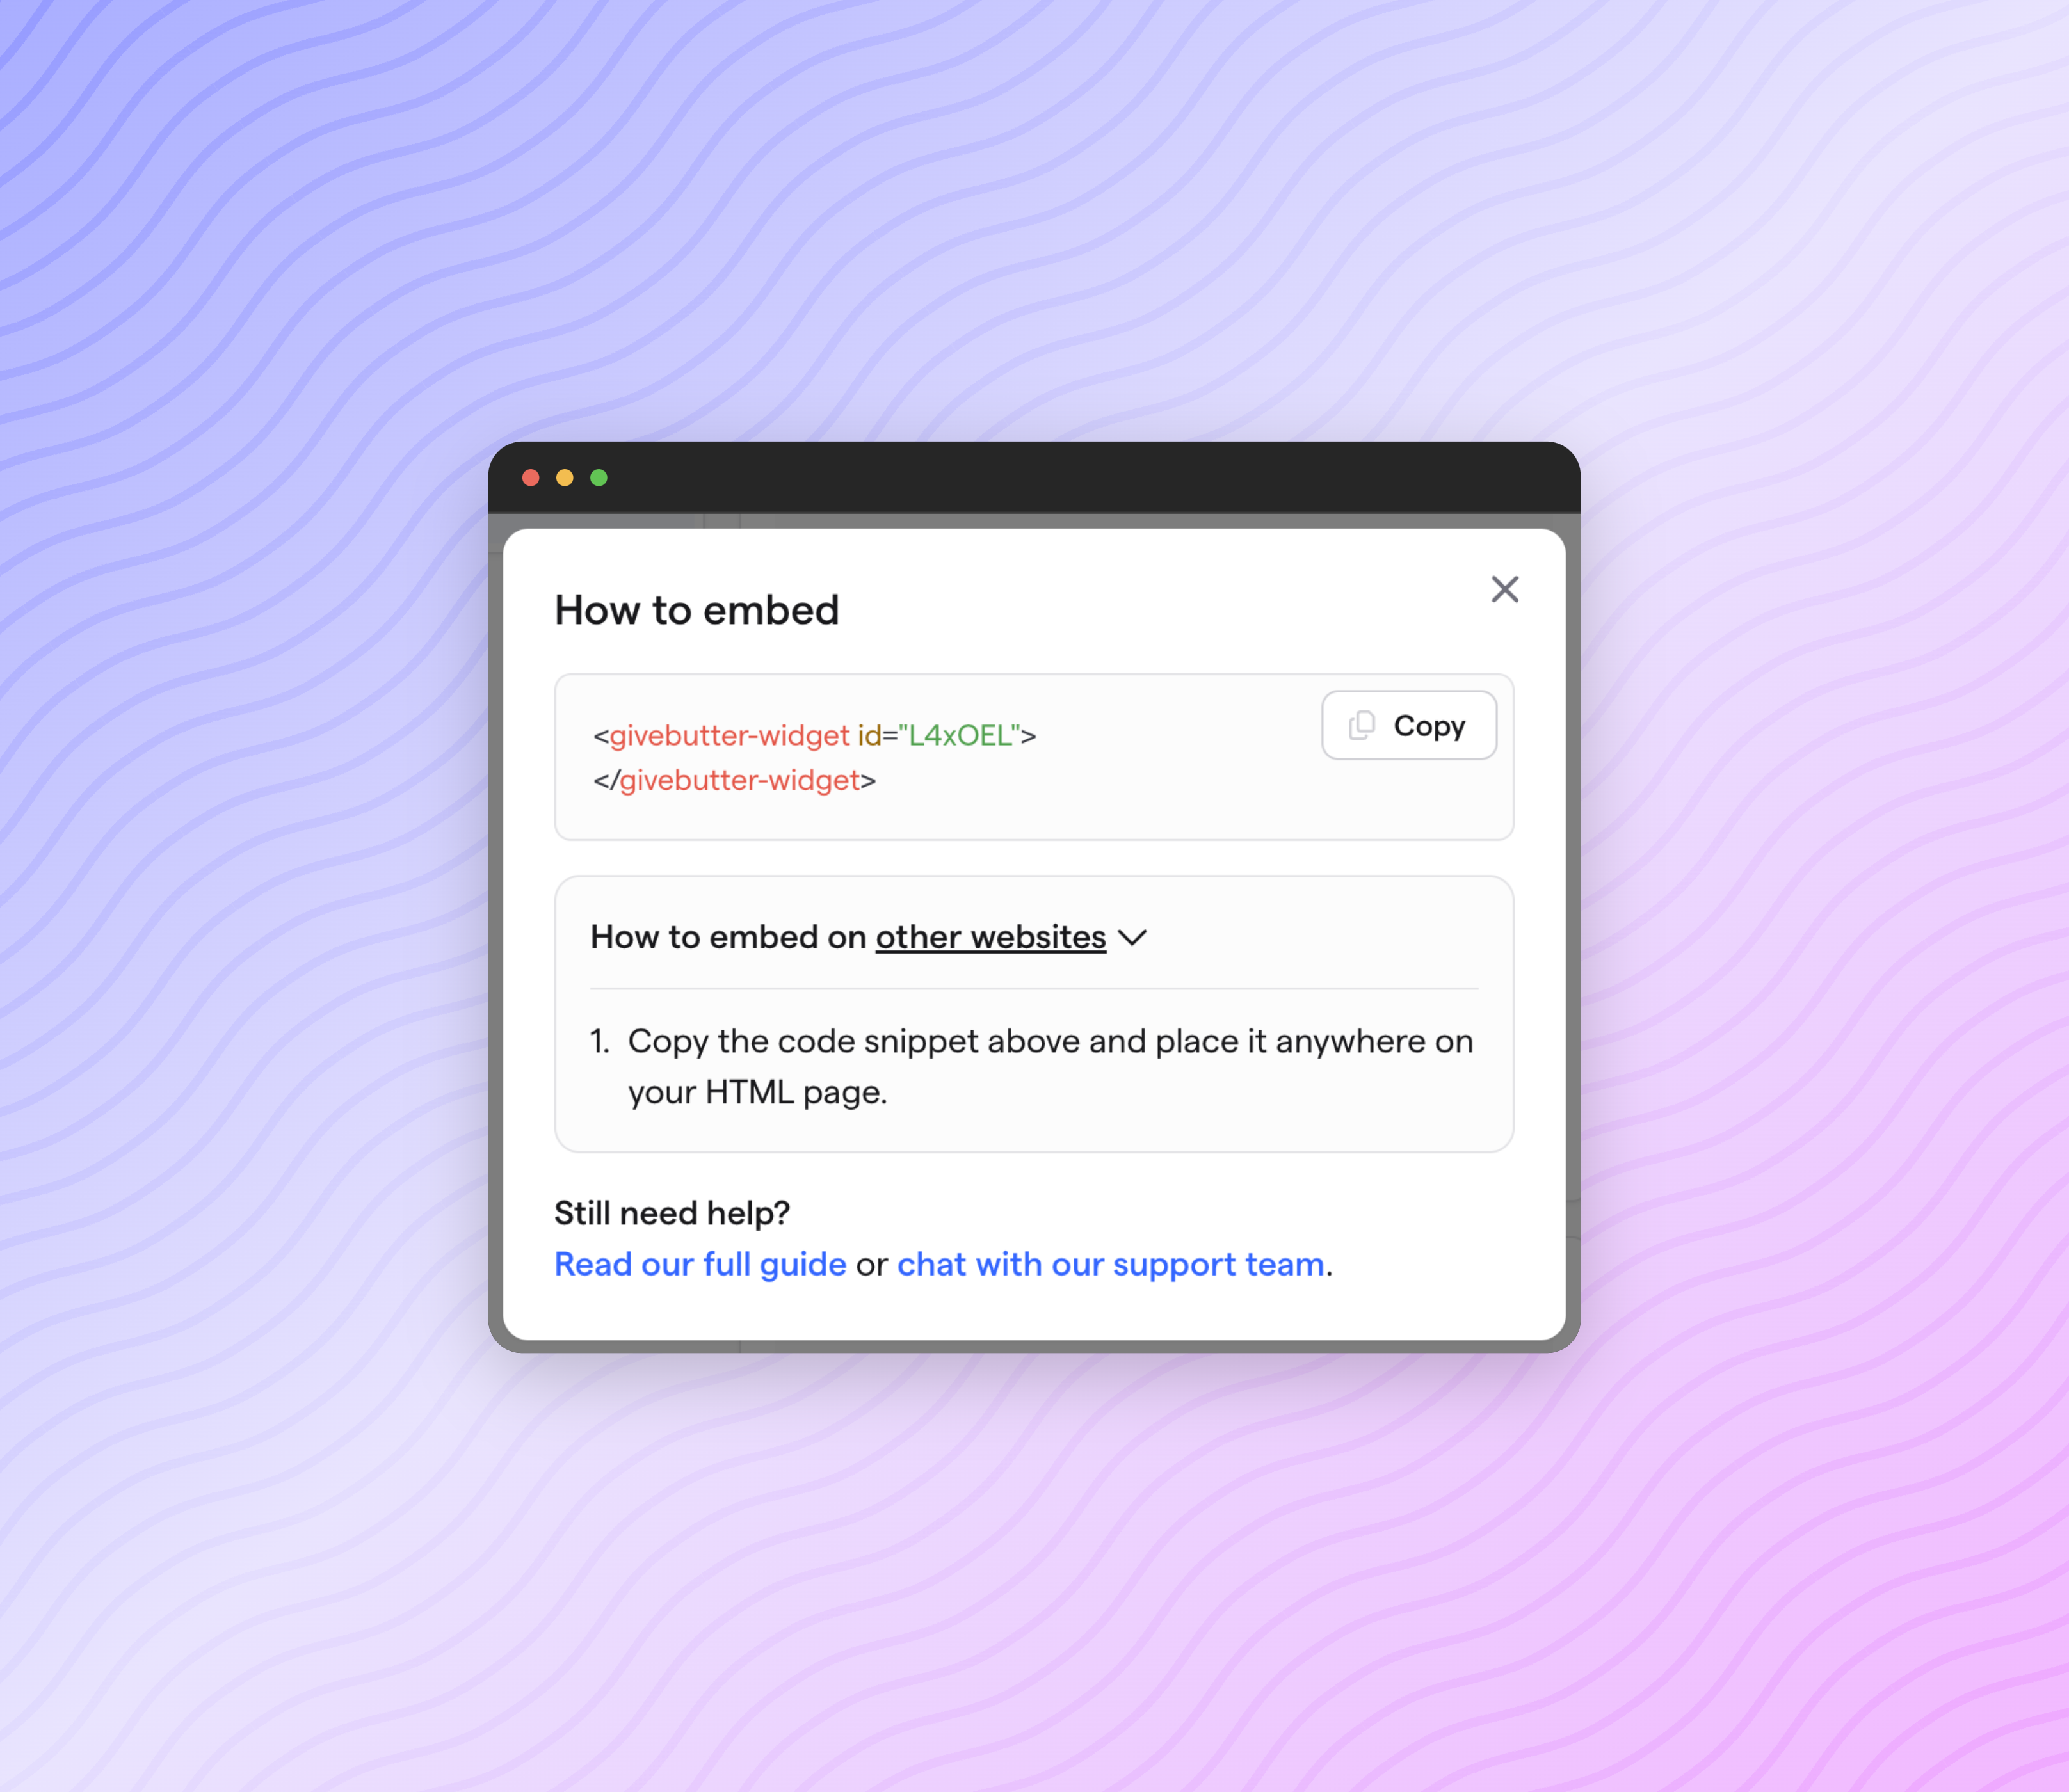
. When you're ready to embed, click Embed
from the Widgets
tab and follow the instructions provided.